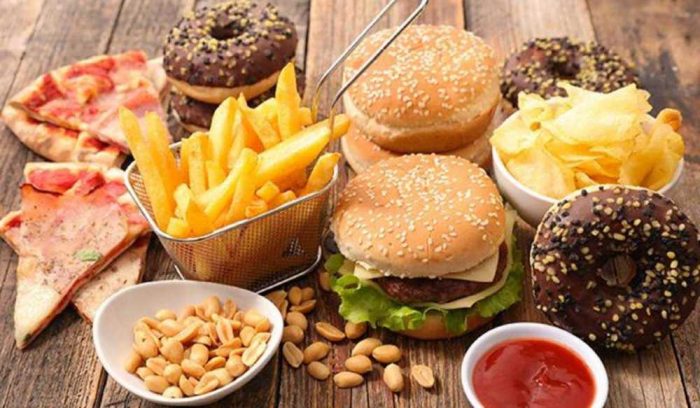
The Food Your Teeth Won’t Thank You for Eating
Oral health and physical health go hand in hand, but we’re probably still more likely to see a doctor regularly than a dentist. We’re probably also more likely to eat food that benefits our overall health, rather than focusing on what looks after our teeth, as well.
Of course, if food is good for your health and skin, then it’s most likely reasonably good for your teeth. Vegetables, in particular, can offer some surprising benefits for teeth health, such as cleaning plaque and freshening breath.
However, are you aware of what foods your teeth won’t thank you for eating? Read on to learn what to stay away from if you want to see your teeth in tip-top shape for your next dentist visit.
Bread
When you started thinking about food that will be bad for your teeth, you were probably thinking about sugar, but did you know that bread is your teeth’s foe, not a friend?
Chewing bread can certainly satiate your hunger, but your saliva breaks down the starches and turns them into sugar. It then sticks in between your teeth and can cause cavities. Fortunately, choosing whole-wheat varieties can limit the impact due to fewer sugars.
Ice
Many frosty beverages are served with ice. They keep the drink cold and definitely make for Instagram-worthy photos. However, it’s best to let that ice melt or leave it at the bottom of your glass once you’ve finished with it. Chomping down on hard things like ice can lead to chipped or broken teeth, and even loosened crowns.
Dried Fruit
Dried fruit is a delicious, high-energy snack. It’s also bad for your teeth. Many dried fruits can be quite sticky, and they can cling to the surfaces and gaps of your teeth. Left there without flossing, brushing, and rinsing can result in cavities. While you can still eat dried fruit, remember to rinse and floss after doing so.
Sour Lollies
Many of us have a sweet tooth, and that craving for something sweet leads us down the path of snacking on sour lollies. All lollies are bad for your teeth, but the sour variety can be even more so. They contain acid and are often chewy. As a result, they can stick between your teeth and cause decay if not rinsed or flossed out.
If you feel like something sweet, choose something that doesn’t linger in your teeth long after you’ve finished eating it.
Potato Chips
No game of rugby on the TV is complete without a bag of chips, but your teeth would rather be without them. Potato chips contain a lot of starch, like bread, which is then turned into sugar. As this gets trapped between your teeth, it can cause plaque. If you do want to enjoy a bag of chips in front of the game, make sure you rinse and brush your teeth afterward.
There is plenty of food that can be beneficial for your teeth, but there are equally as many that won’t do them any favours. Talk to your dentist about other ways you can care for your teeth at your next dental checkup.